
 Ingredients:
1 bone-in rib roast
1/4 cup or more of one recipe of Tony’s Meat Rub
Spoon Mage™ Note:
I did not specify the number of ribs or which end to get, the larger or small. Why? Because it all depends upon how many people are eating or which type of meat you prefer.
A standing rib roast has seven ribs from small end to large. Each rib will serve two healthy appetites or three light eaters. A three rib roast is good for anywhere from 6-9 people.
Prime is best, but if you cannot afford that, then get choice. It’ll be good.
The ribs you choose depends upon what type of meat you prefer. The smaller end is very tender and less fatty as it is closer to the loin. The larger end, closer to the chuck, is a little fattier but tastier (in Spoon Mage™ opinion). Tony says that the fat is easy to trim away prior to serving as it is concentrated along the membranes in the meat.
Allow for a little extra meat because nothing in the world makes a more delicious leftover sandwich. We chose a two rib chuck end for the two of us – we enjoyed part of one rib on roasting day. There was enough left over for a repeat of Grilled Prime Rib dinner number two – and Rib Roast Vegetable Soup!
You will need to do the math for your piece of meat in order to know how long to grill it – approximately 30 minutes per pound for the small and 45 minutes for the large. Yes, longer than in the oven. You are going for low heat and slow cookery. Our 4.5 pound two bone chuck end roast took a total of three hours. Cooking time is determined by grilling slow off to the side of the coals. Try to maintain a cooking temperature of about 250° F inside the kettle.
Decide whether you want the meat to be rare (130° F) or medium rare (135° F). If your preference is medium or medium well, choose a different, less expensive cut of meat. When this cut is taken to 145° F or beyond, it will be dry and not worth the money you spend on this rare treat meat.
Remember, the cooking time is an estimate as it all depends upon the size of your roast. Plan for sides that can either be prepared when the roast rests or that can be prepared ahead of time and just sit about waiting for dinner.
Rubbing the Roast:
The day before you will grill, mix up a batch of Tony’s Meat Rub. Don’t worry that it makes a lot. It’s great to have on hand 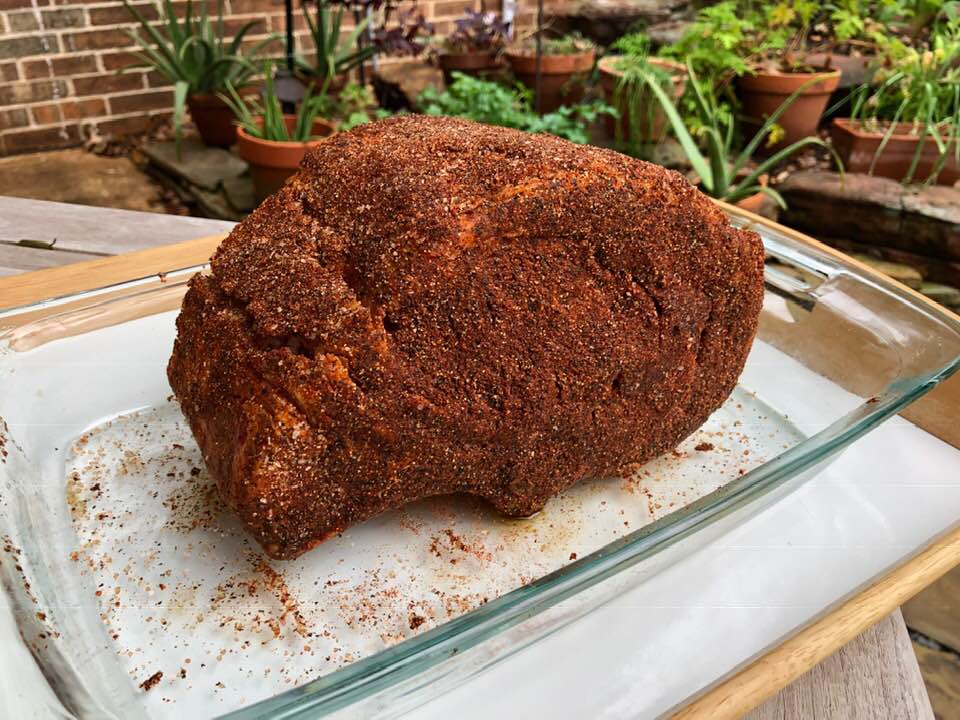 and terrific on other meats!
Lay down a thin layer of the rub in a large casserole pan with a side and begin by rolling the curved upper surface of the roast in the rub. Press as you roll. Pushing the rub inside the surface of the meat encourages a beautiful caramelized crust. Continue to add more rub, using your hands as needed, pressing as you go until the roast will accept no more rub as every bit is covered in a thick layer of seasoned goodness.
The thick coat of rub seasons the meat and protects it from burning. The deeply caramelized crunchy rub is absolutely fantastic to enjoy it with the meat. Eat it mindfully.
Cover the roast with foil and place it, still in the pan, inside the refrigerator, anywhere from a few hours to overnight.
coals to the left, water pan and meat to the right
Preparing the grill:
Tony uses a traditional Weber Kettle and that is what the instructions are written for. Place folded sheets of foil at the center of the grill, hanging down like a curtain. This curtain will separate the hot side of the grill with the coals, from the moist side of the grill with the water pan and the meat. The sheets of foil will also keep the coals on the opposite side from coming too near the meat, keeping the heat low and the cooking slow.
Fill one half of the grill with coals for cooking. The meat will sit on the grates on the opposite half. Fill a disposable pan (foil bread tin or pie pan are suggested) with two cups of water and place it opposite the coals, under the meat. It will stay there the entire time, catching fat drips as you cook..
Set aside more coals. Since this roast is grilled slowly, you will need to keep the fire going by adding 10 or 12 coals at each turn of the roast. Just spread them about on top of the hot coals as they burn down. Use a quick-read thermometer to monitor the temp inside the grill (near 250° F) and the temp of the meat (details below).
When you do the grilling math, add about half an hour for the coals to get hot before grilling.
Grilling the Rib Roast over coals:
 About 45 minutes prior to grilling, take the roast out of the refrigerator, giving it time to reach room temp. Set it in a safe place, like an unused oven or microwave so your kilties do not eat it.
Start the coals.
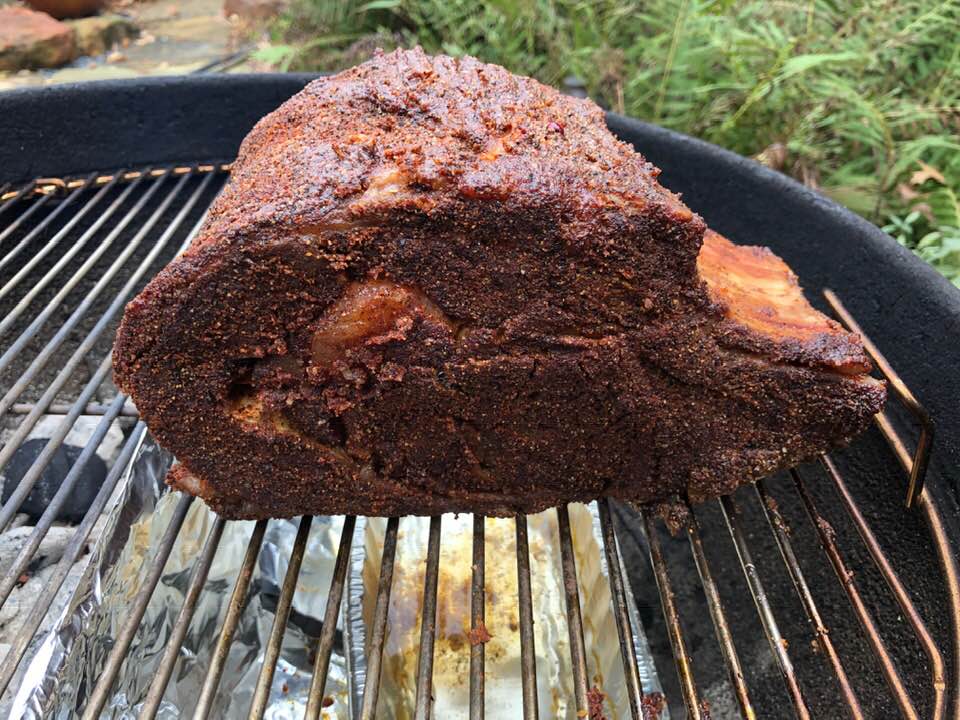
When the coals are hot, place the roast on the grates over the tin with the water in it – any side down will do. All sides will be grilled. Tony likes to start with the bones down, facing the heat.
Cover the kettle with the lid, open holes over the roast.
Every 20 minutes, while wearing protective gloves, use large utensils designed for outdoor cooking and turn the roast over – leave it over the tin with water with each turn. Add about 10 or 12 coals after the turning and recover with the lid. Make sure that every side of the roast gets time on the grates.
When you are about an hour from when you think the roast should be at 130° or 135° F, start taking the temperature with an instant read thermometer. Do this at every turn, turning at 10 minutes when the roast reaches 120° F. Place the thermometer deep inside so it reaches the thickest part of the meat.
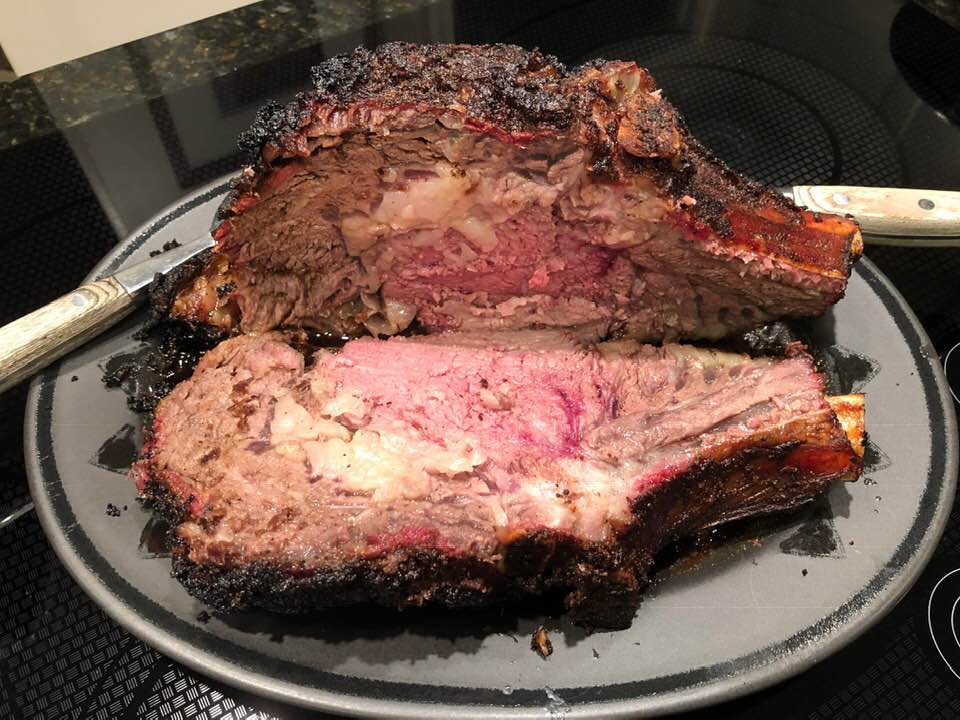
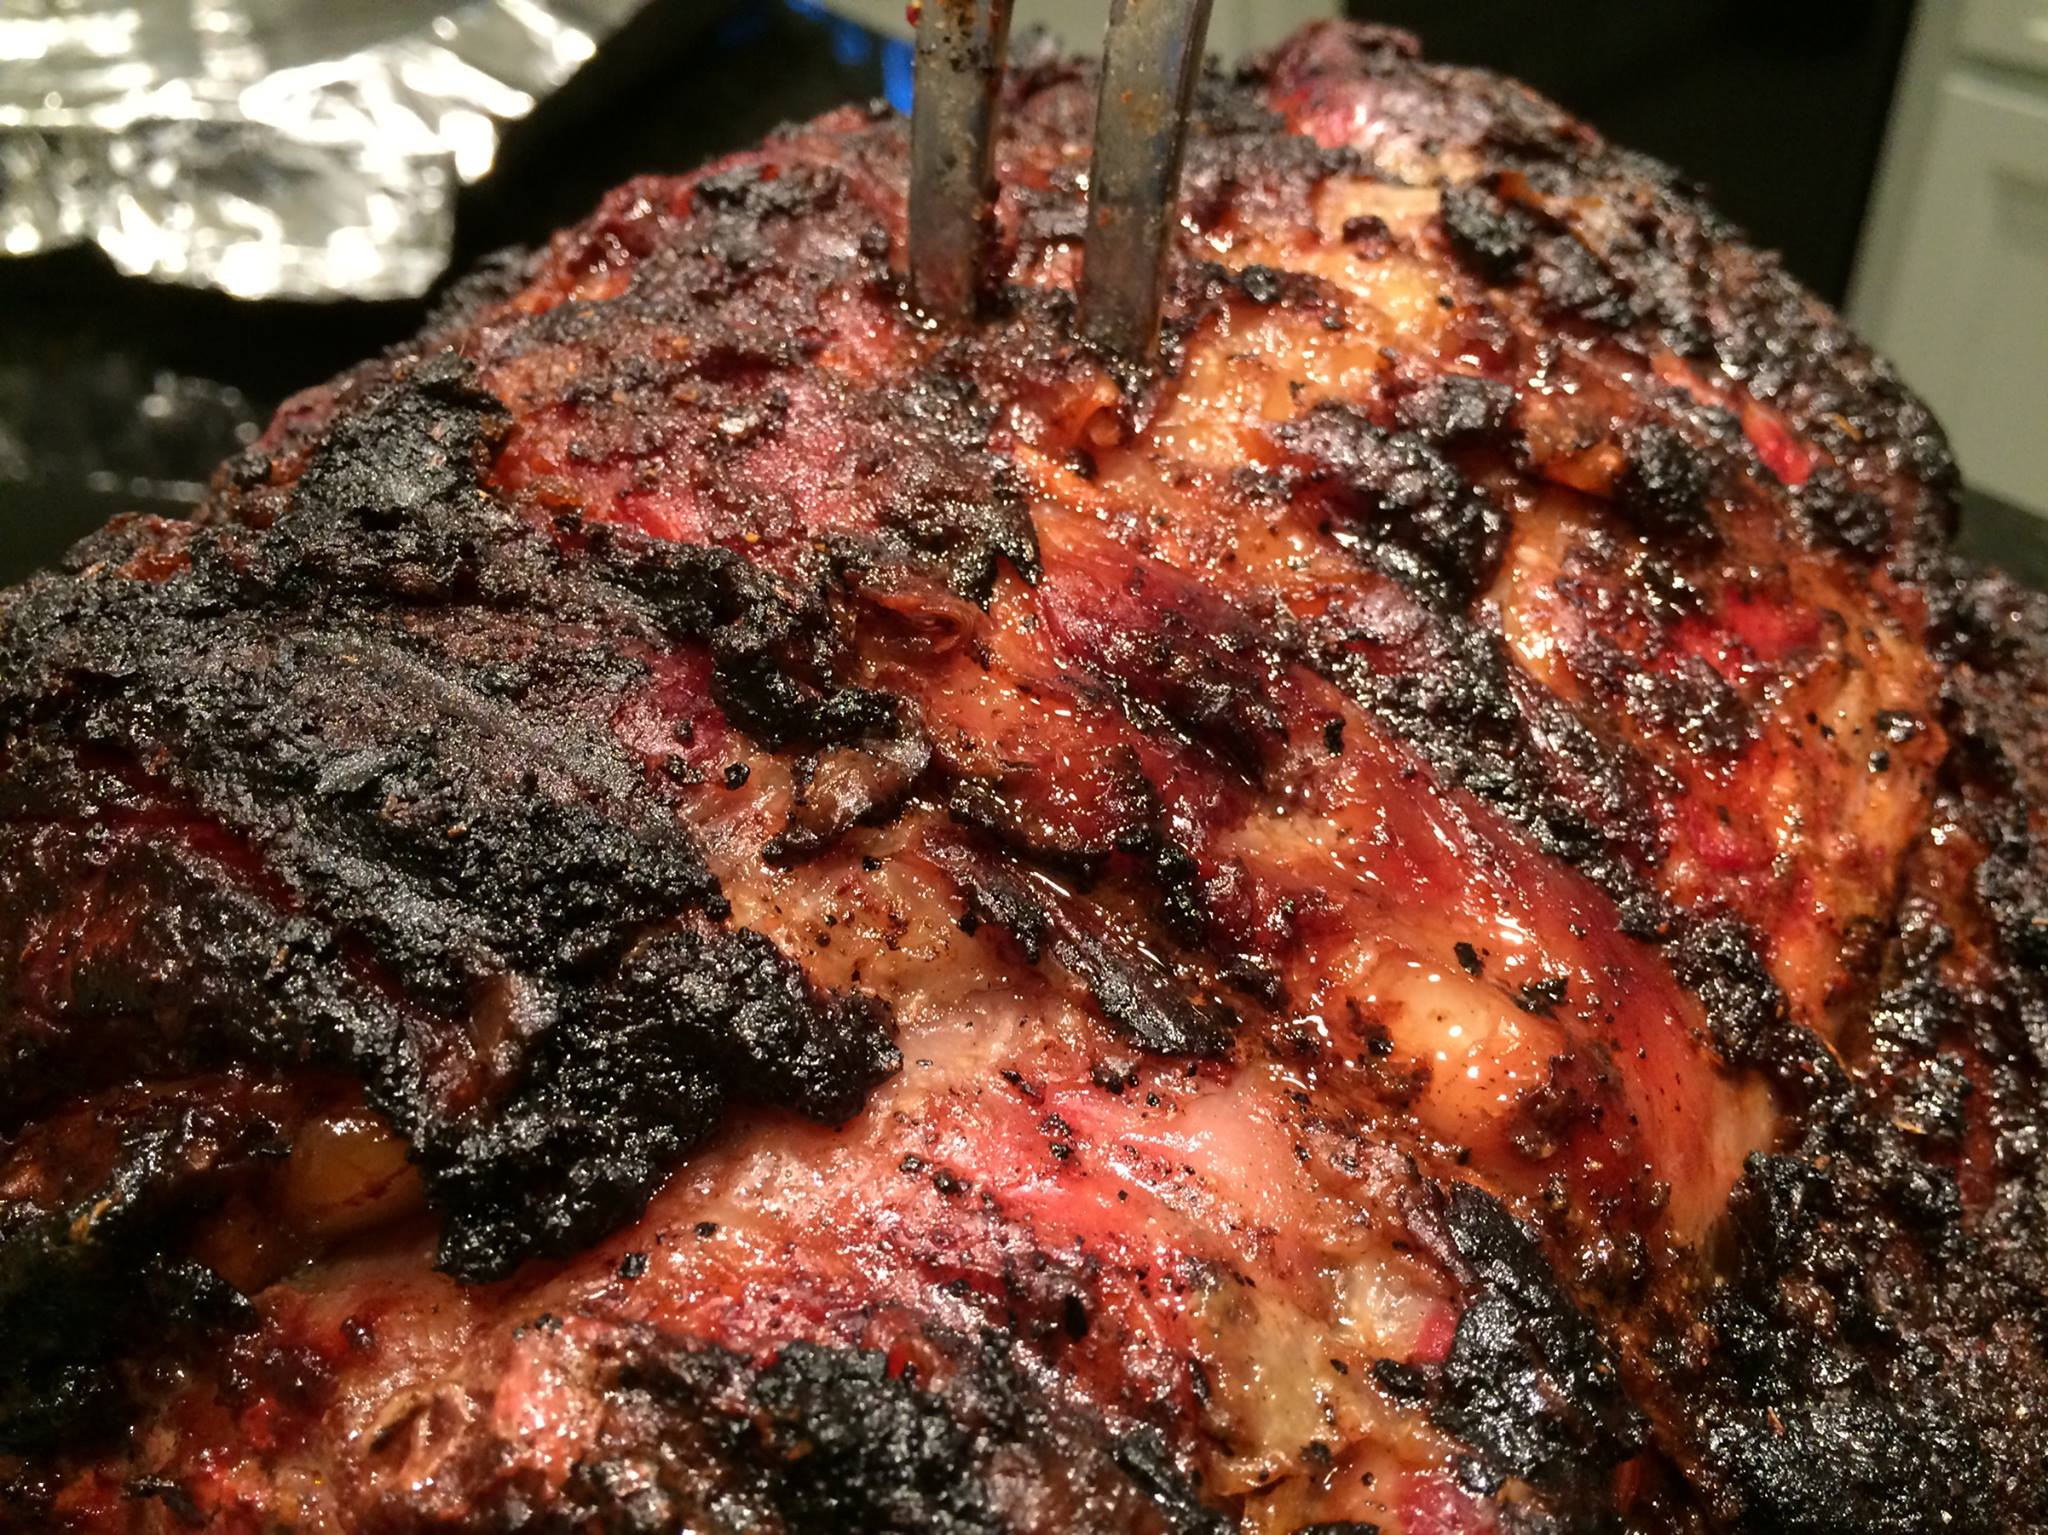
cooked to medium, red smoke ring all around outer edges of the meat
The temperature will rise quickly near the end of cooking. This is not the time to play a game of Scrabble.
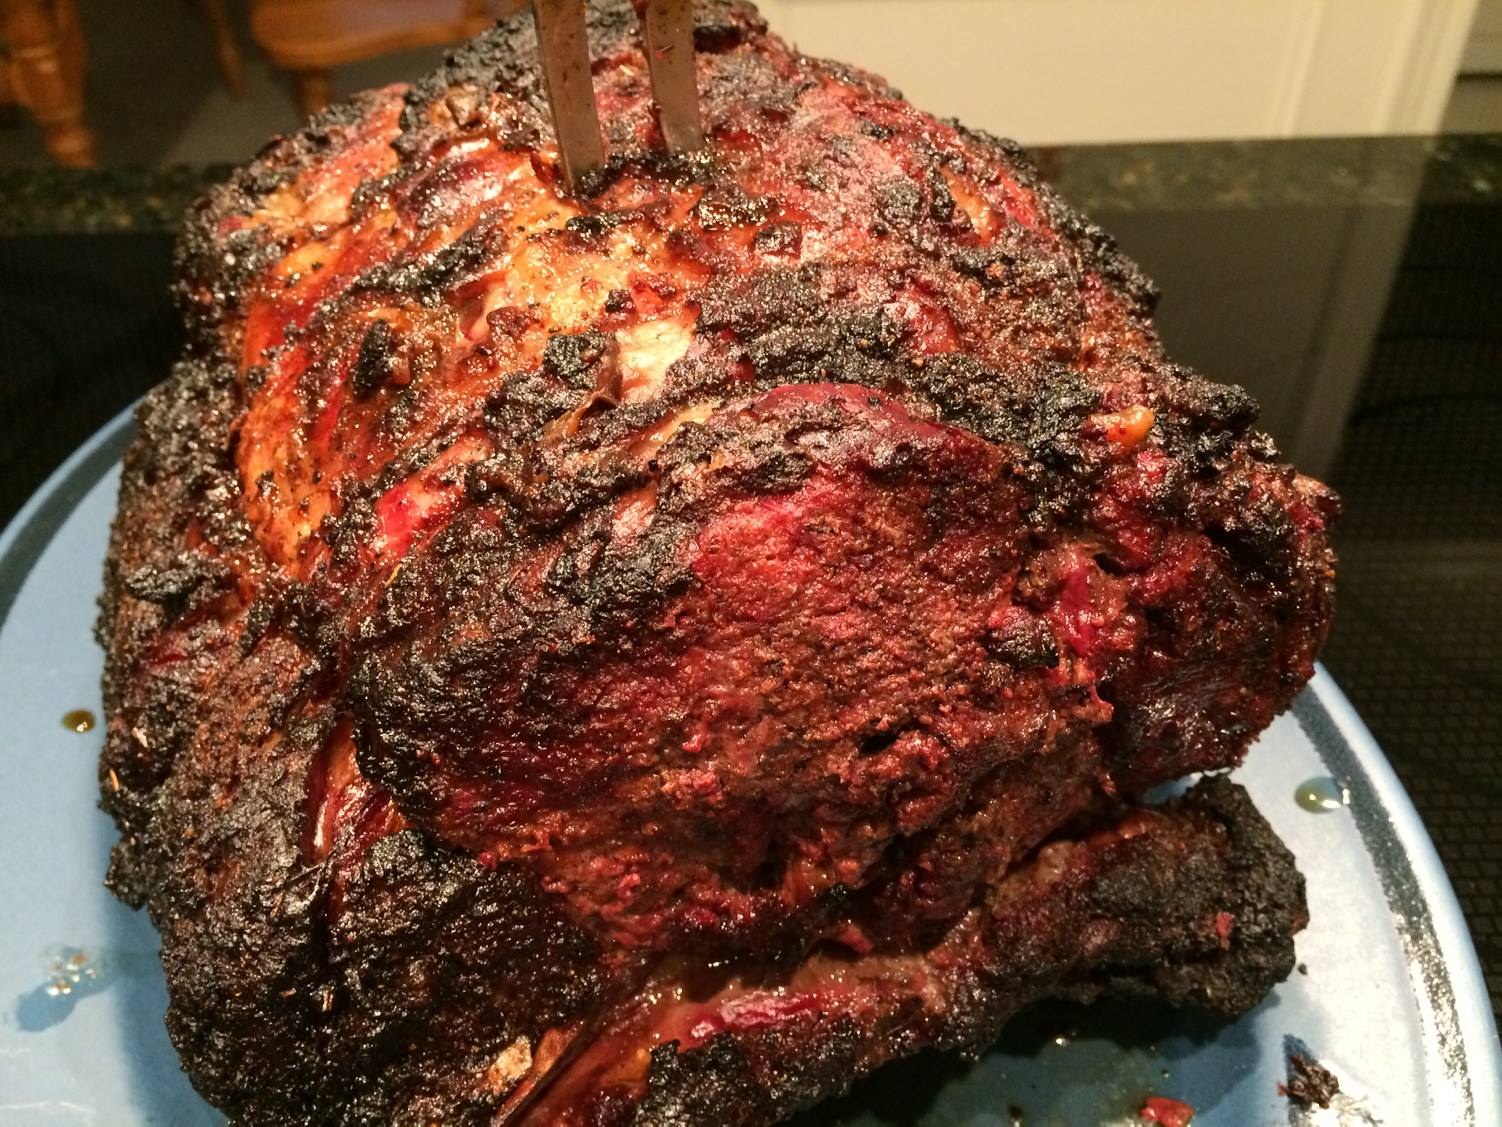
When the roast reaches your preferred temperature, remove it to a platter, cover with foil, and let it sit for about 15-20 minutes.
Then set the meat rib side up and carve vertical slices between the bones to make a few beautiful bone-in steaks.
Notice the gorgeous smoke ring around the exterior of the roast. That is because you grilled it like Tony!
 Now cut slices off of the rib for serving.
Make sure someone gets the bone with the bits of meat on it as that is the best part – do not give it to the dog.
